Andriod EN
From CMU ITSC Network
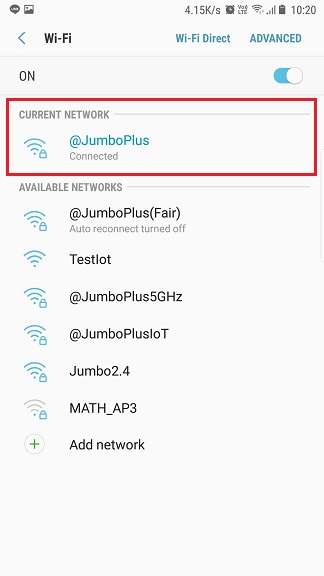
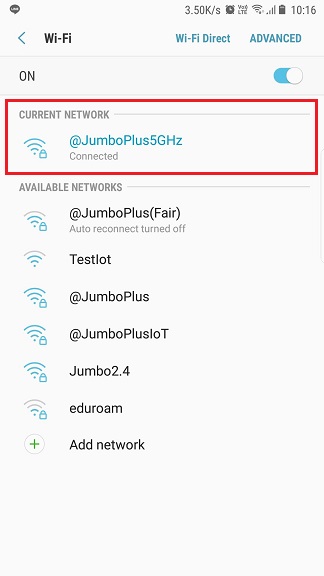
How to connect @JumboPlus or @JumboPlus 5 GHz for Andriod
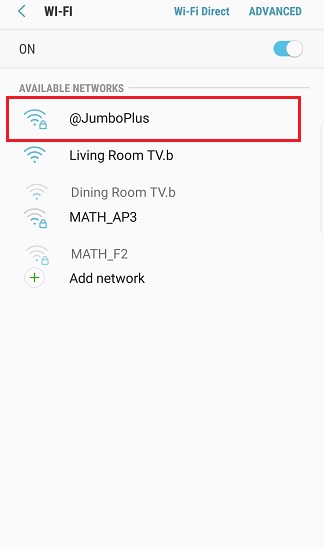
- Go to Settings >> Wi-Fi >> Turn on Wi-Fi and then select @JumboPlus or @JumboPlus5GHz
- If you only see the name @JumboPlus, it means your device supports the 2.4 GHz frequency only.**
- If you see both names, it means your device supports the 5GHz frequency. It is recommended to connect to @JumboPlus5GHz. ***
- If you only see the name @JumboPlus, it means your device supports the 2.4 GHz frequency only.**
Please select only one name. If you choose both names on the same device, it may result in intermittent connectivity issues.

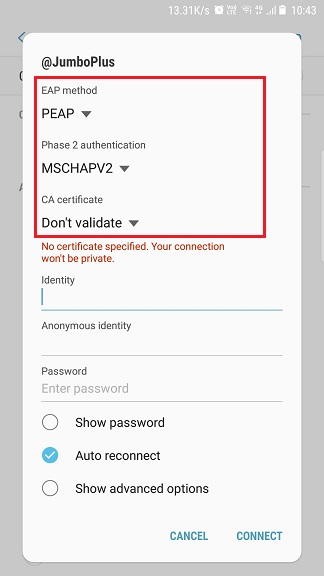
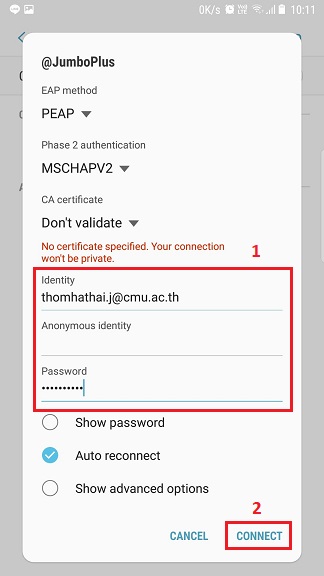
- Choose the profile settings as follows:
- EAP method : PEAP
- Phase 2 authentication : MSCHAPV2
- CA certificate : Do not validate / unspecified ***
For some device models that do not support WPA2 Enterprise standard in the CA certificate section, you may not find the option "Do not validate / unspecified" or there might be a field to enter the Domain Name. In this case, it is recommended to temporarily connect to @JumboPlusIoT until the device receives a firmware update that supports the new standard.
- >>>> How to connect @JumboPlusIoT <<<<
- Fill in CMU Account at Identity and Passwor and then click Connect
- Student : Firstname_Surname@cmu.ac.th
- Staff :Firstname.Surname@cmu.ac.th
- After successfully connecting to @JumboPlus or @JumboPlus5GHz, the device will remember the connection for the next time when in a signal area. The device will automatically connect.