Windows 8, 8.1
From CMU ITSC Network
The printable version is no longer supported and may have rendering errors. Please update your browser bookmarks and please use the default browser print function instead.
การเชื่อมต่อ @JumboPlus และ @JumboPlus 5 GHz สำหรับ Windows 8 , 8.1
ให้เลือกสร้างการเชื่อมต่อ Wi-Fi เพียงชื่อเดียวเท่านั้น หากสร้างไว้ทั้งสองชื่อในอุปกรณ์เดียวกัน อาจจะใช้งานแล้วติดๆ หลุดๆ ได้
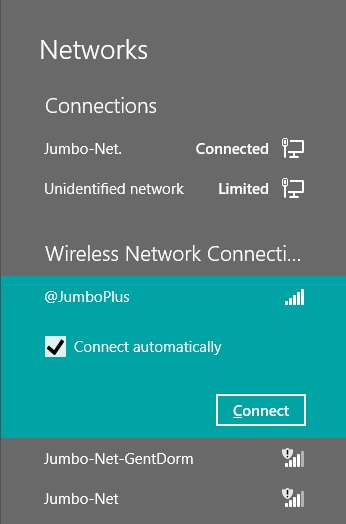
- กดที่ไอคอนการเชื่อมต่อที่ Taskbar (ด้านล่างขวามือ)
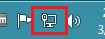 เพื่อเช็คว่าอุปกรณ์เห็นชื่อ Wi-Fi : @JumboPlus หรือ @JumboPlus5GHz
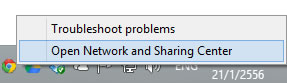
 - คลิกขวาที่ไอคอนการเชื่อมต่อที่ทาสก์บาร์แล้วเลือก "Open Network and Sharing Center"
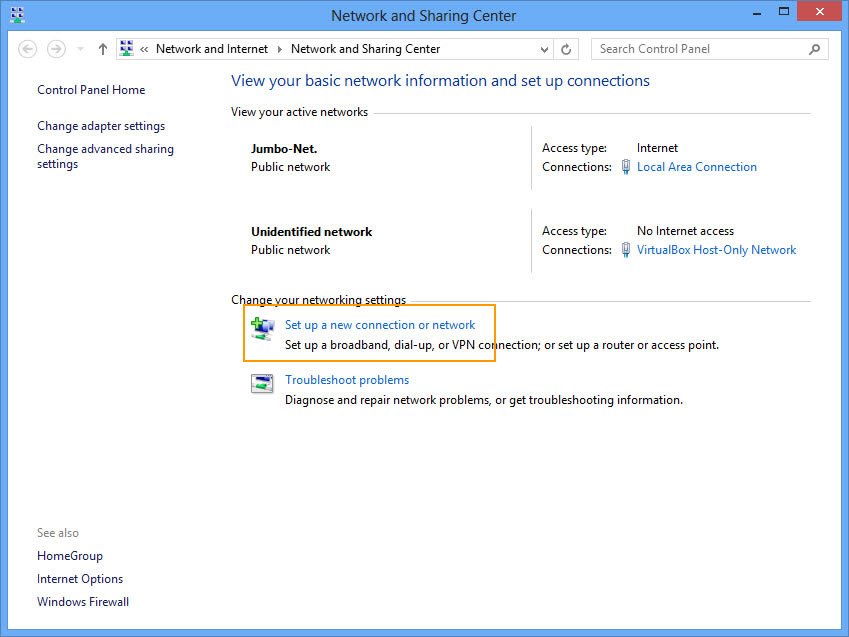
- ที่หน้าต่าง Network and Sharing Center คลิก "Set up a new connection or network"
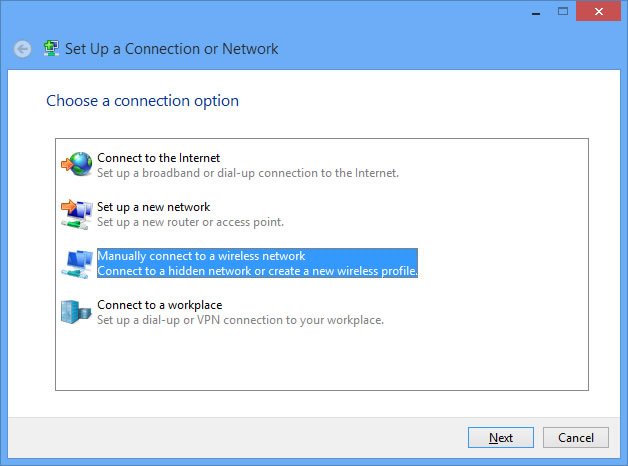
- ที่หน้าต่าง Set Up a Connection or Network เลือก "Manually connect to a wireless network" จากนั้นกด "Next"
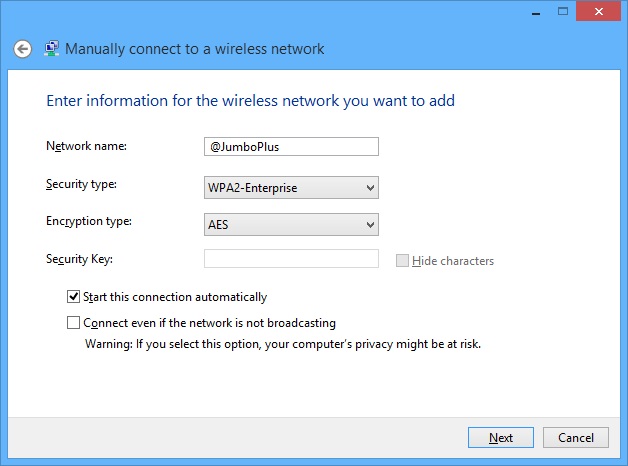
- บนหน้าต่าง Manually connect to a wireless network ตั้งค่าดังนี้
Network name : @JumboPlus หรือ @JumboPlus5GHz (โปรดอ่านหมายเหตุ)
Security type : WPA2-Enterprise
Encryption type : AES
จากนั้นกด "Next"
หมายเหตุ
จากข้อ 1 กรณีเห็น @JumboPlus ชื่อเดียว แสดงว่าอุปกรณ์ของท่านรองรับคลื่นความถี่ 2.4GHz เท่านั้น ต้องใส่ Network name เป็น @JumboPlus
กรณีเห็นทั้งสองชื่อ แสดงว่าอุปกรณ์ของท่านรองรับคลื่นความถี่ 5GHz ให้ใส่ Network name เป็น @JumboPlus5GHz
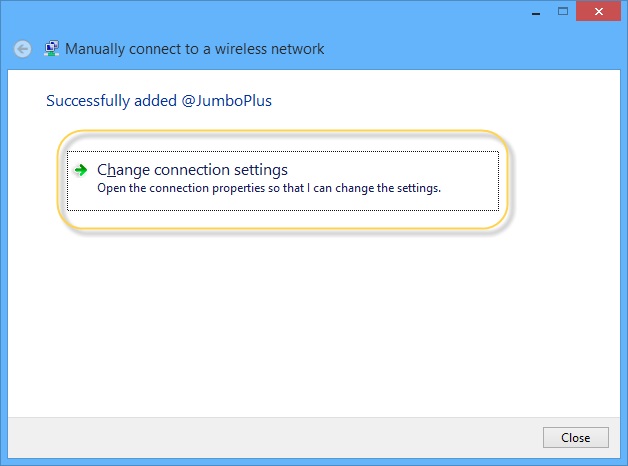
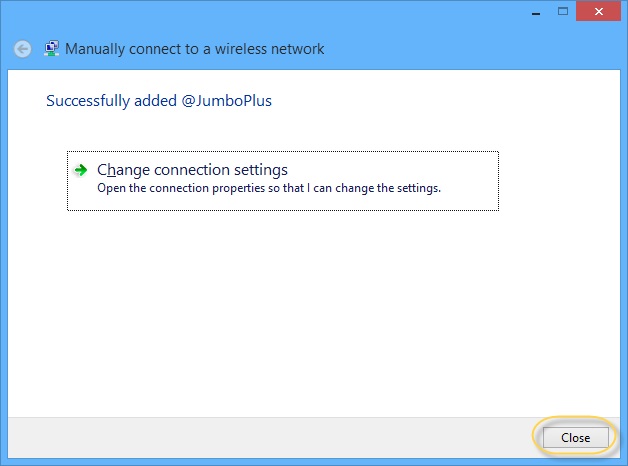
- บนหน้าต่าง Manually connect to a wireless network จะพบข้อความ Successfully added network กด "Change connection settings"
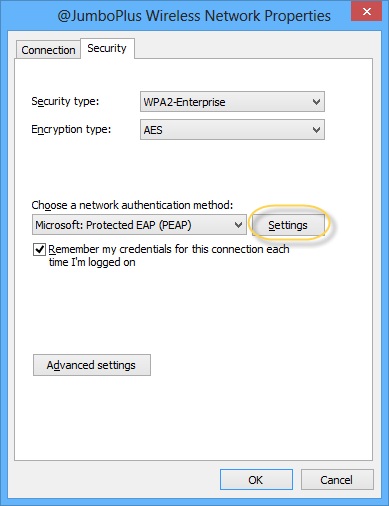
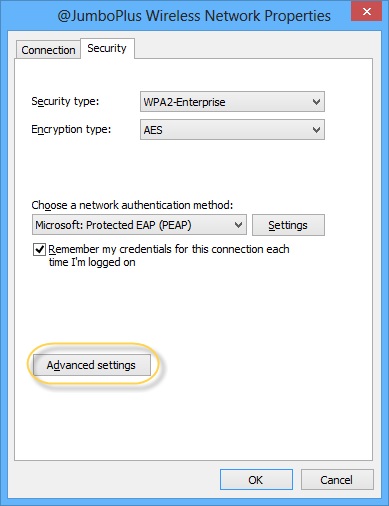
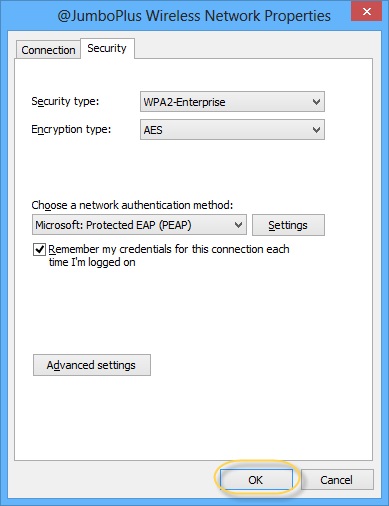
- บนหน้าต่าง Wireless Network Properties เลือกแท็บ "Security" จากนั้นกด "Settings"
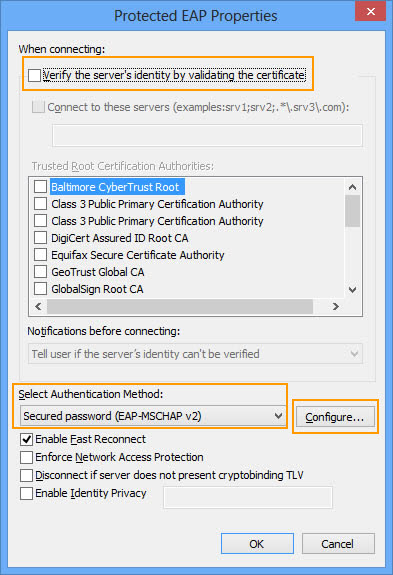
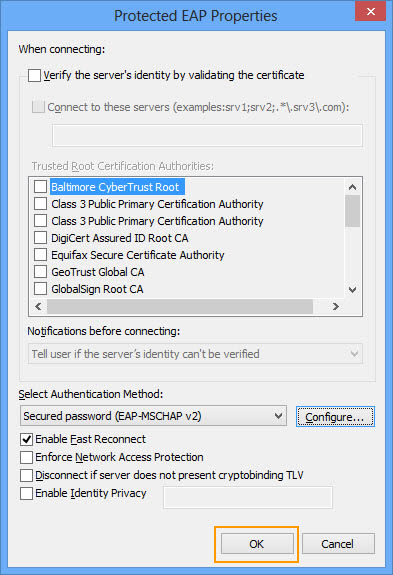
- บนหน้าต่าง Protected EAP Properties ให้นำเครื่องหมายถูกออกจาก "Verify the server's identity by validating the certificate"
ตั้งค่า "Select Authentication Method:" เป็น Secured password (EAP-MSCHAP v2) จากนั้นกด "Configure..."
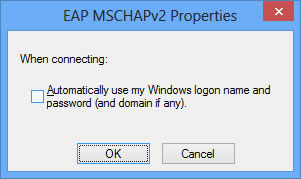
- บนหน้าต่าง EAP MSCHAPv2 Properties ให้นำเครื่องหมายถูกออกจาก "Automatically use my Windows logon name and password (and domain if any)" จากนั้นกด "OK"
- บนหน้าต่าง Protected EAP Properties กด "OK"
- บนหน้าต่าง Wireless Network Properties กด "Advanced settings"
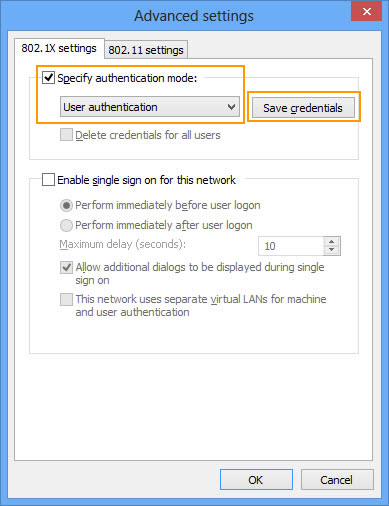
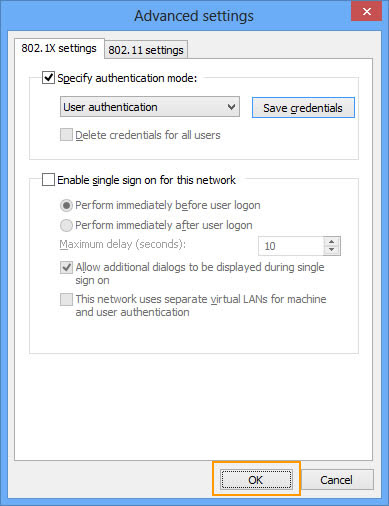
- บนหน้าต่าง Advanced settings เลือก"Specify authentication mode:" และตั้งค่าเป็น "User authentication" จากนั้นกด "Save credentails"
- บนหน้าต่าง Windows Security ระบุ CMU Account ที่ได้รับจากทางมหาวิทยาลัย จากนั้นกด "OK"
นักศึกษา Username : Firstname_Surname@cmu.ac.th
บุคลากร Username : Firstname.Surname@cmu.ac.th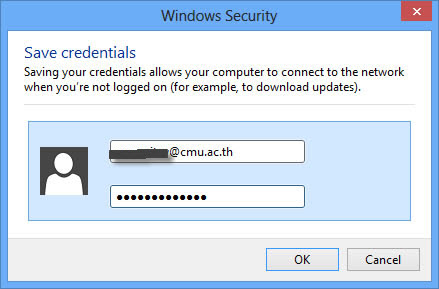
- บนหน้าต่าง Advanced settings กด "OK"
- บนหน้าต่าง Wireless Network Properties กด "OK"
- บนหน้าต่าง Manually connect to a wireless network กด "Close"
- กดไอคอนการเชื่อมต่อที่ Taskbar
- เลือก @JumboPlus หรือ @JumboPlus5GHz จากนั้นกด "Connect"
- หลังจากเชื่อมต่อ @JumboPlus หรือ @JumboPlus5GHz สำเร็จแล้ว อุปกรณ์จะจำการเชื่อมต่อไว้ ครั้งต่อไปเมื่ออยู่ในบริเวณที่มีสัญญาณ อุปกรณ์จะทำการเชื่อมต่อโดยอัตโนมัติ
